
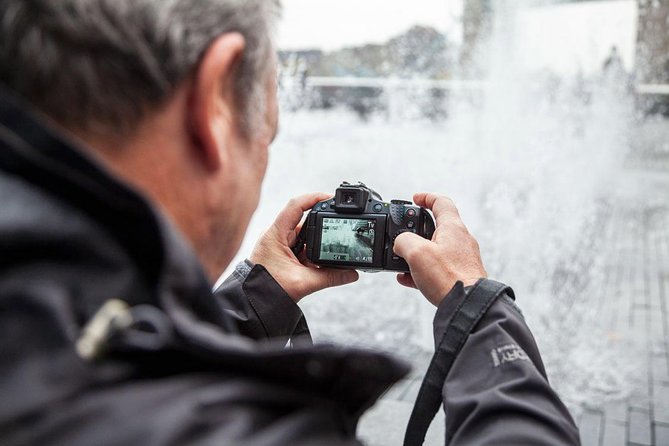
Reviewed · PHOTOGRAPHY SESSIONS
Beginners Photography Course – Small Group Workshop
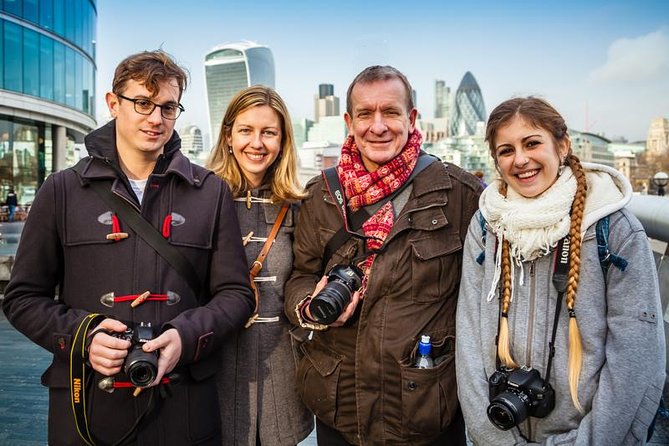
London makes a fine classroom for a camera course, and this workshop gets you out of the confusing auto mode quickly. In a small group of no more than six, you work with your own camera at City Hall, Tower Bridge, and the Tower of London while learning ISO, aperture, shutter speed, focus, and composition.
I like the one-to-one attention and the fact that the tutor teaches the camera you actually own, not an imaginary standard model. I also like the practical assignments. You do not just listen to a lecture, you change settings and see what happens.
The main drawback is the price: $336.07 per person is a serious outlay for about four hours. It makes the best sense if you own a camera you want to use properly and expect to keep practising after the course.
Key points at a glance
- Tiny group: No more than six people, leaving room for personal help.
- Your own camera: The tutor adjusts the lesson to your make and model.
- Hands-on practice: Short assignments help you test ISO, aperture, and shutter speed on location.
- Three useful London settings: City Hall, Tower Bridge, and the Tower of London offer different subjects and light.
- Beginner-friendly teaching: The course is designed for people stuck on auto or scene modes.
- Bring your kit ready: You need your own camera, a fully charged battery, and memory cards.
Why this London camera course works for beginners
The hardest part of learning photography is often not understanding one setting. It is seeing how the settings affect one another. ISO, shutter speed, aperture, focus, and white balance can look like a wall of jargon when you first meet them.
This workshop breaks that wall into small pieces. You learn a setting, use it, and then compare the result with what you took before. That practical rhythm matters. Several people who took the course had used auto or scene modes for years, yet came away able to change the way their photos looked.
I especially like the focus on your personal camera. Menus and controls vary a lot between brands and models. A generic class can explain the theory but leave you hunting through a manual later. Here, the tutor works with the camera in your hands and can help when a particular control is hard to find.
The teaching is led by an experienced professional photographer from London Photo Tours and Workshops, an operator that has been running photography tours, courses, and workshops since 2005. Lou is named in the course feedback and is praised for patient explanations, strong camera knowledge, and keeping people with different makes and models involved.
This is not a sightseeing tour with a few photography tips added. The sights provide the subject matter, but the main purpose is to give you control over your camera.
More photography sessions in London:
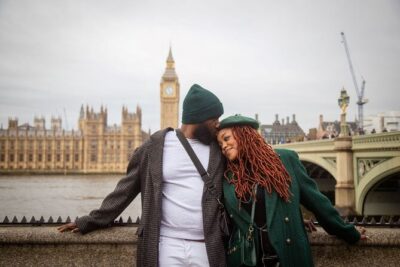
- Professional Photoshoot in London Photographer
★ 5.0 · 102 reviews - Private landmarks photoshoot for families and couples
★ 5.0 · 92 reviews - Professional Private Photoshoot in London
★ 5.0 · 63 reviews
Starting at City Hall and More London
You meet near London Bridge Station Approach Road, London SE1 9SP. From there, the course begins around More London and City Hall. This opening section receives the largest share of the scheduled time, about two hours, and that is sensible. Beginners need time to practise before the class moves on.
At City Hall, you start getting control of the camera’s main functions and settings. The tutor can show you where the controls are on your particular model, then explain what they do in plain terms. If you have inherited a camera, bought an intimidating DSLR, or simply never moved beyond auto, this is the point where the camera should begin to feel manageable.
The short assignments are one of the strongest parts of the course. You practise ISO, shutter speed, and aperture rather than trying to remember definitions in the abstract. You can see how a change affects the image and ask for help straight away.
You also receive guidance on approaching different subjects. That means the lesson is not only about buttons. You learn to think about what you are photographing, how much of the scene should be sharp, how movement might look, and how the available light changes the result.
The small group is important here. Six is still enough for a social class, but it is small enough for the tutor to check each person’s settings. The course information also promises time for individual tuition. That is valuable if your camera has an unusual menu system or if one particular setting refuses to make sense.
Photographing Tower Bridge from across the Thames
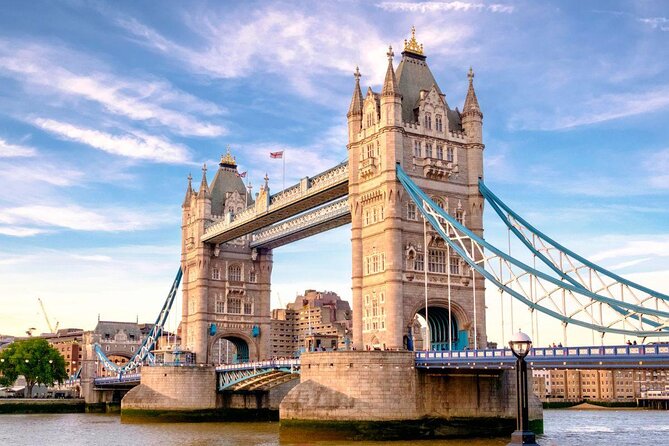
The Tower Bridge section lasts about 30 minutes and focuses on composition, depth of field, light, and focusing techniques. You photograph the bridge from across the river, giving you a clear subject with strong lines and a familiar London setting.
A landmark such as Tower Bridge is useful for a first photography lesson because the subject is easy to recognise, but the image can still be approached in many ways. You can work on framing, decide what to include around the bridge, and see how different focus choices affect the picture.
The tutor is on hand while you shoot. That lets you ask practical questions at the moment they matter. If your composition feels flat, you can discuss framing. If the bridge is sharp but the surrounding scene is not, you can connect the result to focus and aperture.
Do not expect a full architectural photography course in half an hour. This is a focused exercise, not a long session of tripod work or a technical study of bridge photography. Its value is in applying the basics to a strong subject before you move on.
The river setting also gives you a chance to think about light. The same subject can look different depending on where the light falls and how your camera measures the scene. For a beginner, seeing that change on the camera screen can make the explanation stick.
Working with the Tower of London
The next 30-minute section looks at the Tower of London from across the river. Here, the emphasis shifts to lens choices, shutter speed, composition, and using light effectively.
This is a helpful contrast with Tower Bridge. The Tower has a different shape, texture, and sense of scale, so you can consider which lens view works best and how to frame a historic building without losing its surroundings. The point is not just to collect a picture of a famous place. You are practising decisions that will help on future trips.
The tutor can also show you how shutter speed affects the result. At this stage, you should have already worked with the basic controls at City Hall. Using them again on a new subject helps turn the theory into a habit.
One practical strength is that the lesson remains tied to your camera. If you use a compact digital camera, mirrorless camera, DSLR, or another digital model, the exact controls may differ. The teaching is geared to the camera you bring, so you should not need to translate every instruction from a different brand.
The Tower of London stop is brief. If you enjoy historic architecture and want a long photo session at each sight, you may find the pace quick. If your priority is learning core settings in real conditions, the short stop gives you another chance to practise without turning the course into a full-day outing.
A few more things to do in London worth a look
- London Traditional English Scone Making and Tea Workshop
★ 5.0 · 271 reviews - Street Art Tour and Spray Painting Workshop in London
★ 5.0 · 98 reviews - Street Art Walking Tour and Workshop in London
★ 5.0 · 58 reviews - Private DJ Class
★ 5.0 · 11 reviews
What you will actually learn
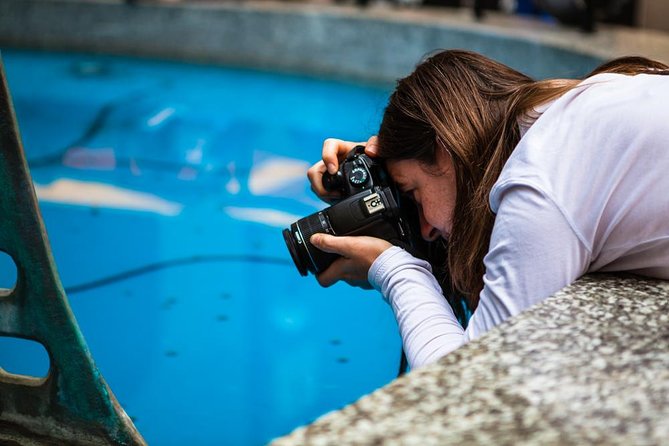
The course covers the basic controls that shape an image:
- ISO: How sensitive the camera is to light, and how changing it can affect the image.
- Shutter speed: How the camera records movement and how the timing of the exposure affects the picture.
- Aperture: How the lens opening changes the photo and influences depth of field.
- Focus: Different ways to choose what should be sharp.
- Composition: How framing and the arrangement of subjects affect the finished image.
- Light: How to notice and use the light already available.
- Lens choice: How your choice of lens changes the view of a subject.
- White balance: This appears in the course feedback as part of the settings people practise, although the listed itinerary gives less detail about how much time it receives.
The course is not designed to make you an expert in one morning. It should give you a working base and enough confidence to keep practising. That distinction matters. You will still need to use the camera after the workshop if you want these controls to become second nature.
One useful result is self-sufficiency. You should be better able to find your way around the camera, choose a setting, and understand why the picture changed. That is more useful than leaving with a long list of technical terms you cannot apply.
The value of a four-hour private-feeling class
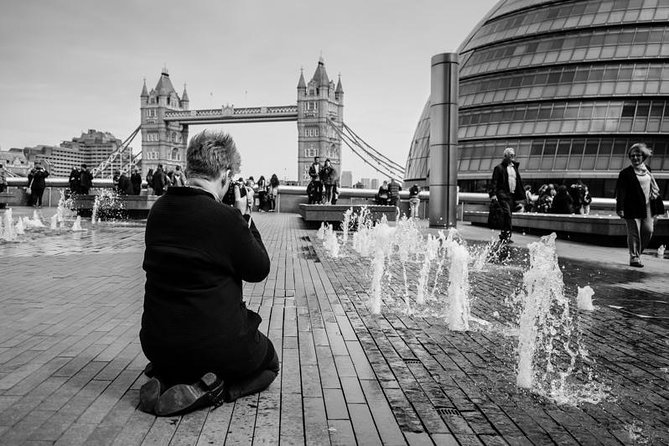
The maximum group size of six is the main reason this course feels more personal than a standard class. You are not paying for a large lecture where the tutor has to keep moving. The instructor can look at your camera, answer your specific question, and see if you have understood the task.
The course lasts approximately four hours. The listed teaching periods add up to about three hours across the three locations, so allow for walking, transitions, explanations, and time spent setting up exercises. It is best viewed as a compact half-day workshop rather than a tightly timed sequence of sightseeing stops.
The course price is $336.07 per person. That is expensive for a beginner class, especially when food and drinks are not included. You will need to decide if the small group and individual help justify the cost.
I would see better value if you have recently bought an expensive camera, inherited one you cannot operate, or plan to take more photography courses. The course feedback includes people who later booked night photography or intermediate sessions, and that makes sense. A first lesson is more useful when it starts a longer period of practice.
The value is weaker if you only want a few attractive London snapshots and are happy to let the camera handle everything. You can photograph the sights, but the real product is the skill you take home.
Who should book this workshop
This is a good fit for you if:
- You are stuck on auto or scene modes.
- You own a digital camera but find the controls confusing.
- You have inherited a camera and need help from the beginning.
- You want practical tuition rather than a classroom-only lesson.
- You learn best by trying a setting and seeing the result.
- You want personal help with a particular make or model.
- You are willing to practise after the workshop.
The course also suits a mixed beginner group. One person can be completely new to photography while another has more basic experience. The small size and individual guidance allow the tutor to help at different levels, though the overall focus remains beginner photography.
It may not suit you if you want advanced portrait lighting, studio technique, long exposure work, or a specialised architectural session. Those subjects are not the focus here. You should also consider the price if you are not sure you will continue using the camera.
The minimum age is 16. Most people can participate, and service animals are allowed. The meeting point is near public transport, which makes the start practical for a London day out. The activity ends back at the meeting point.
What to bring and how to prepare
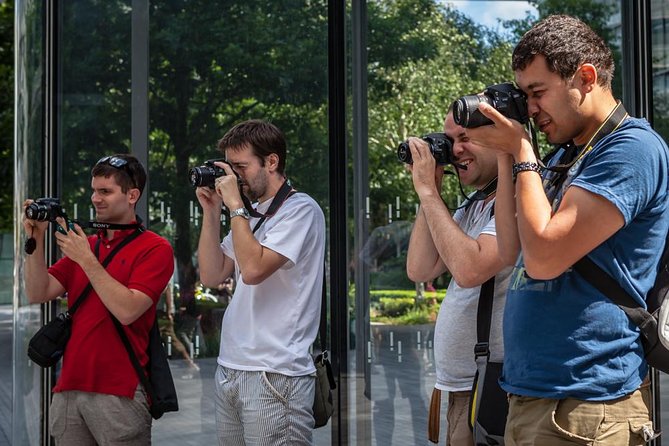
Bring your own camera, a fully charged battery, and memory cards. A spare battery is recommended if you have one. Since the lesson is built around your equipment, borrowing a different camera would defeat much of the purpose.
Before you arrive, remove any important photographs from the memory card if it is nearly full. It is also sensible to bring the camera manual if you still have it, though the tutor’s camera experience should help with many controls.
Wear something suitable for walking and outdoor photography. The course visits several central London locations and includes time outside. Food and drinks are not included, and lunch is not provided, so plan around the approximately four-hour schedule.
You should also arrive with one or two questions. Perhaps you cannot find manual focus, do not understand why indoor photos are blurry, or want to know how to stop relying on auto. A small group gives you a good chance to get those questions answered.
Booking, cancellations, and the practical call
Confirmation is provided when you book. The activity requires a minimum number of participants, so it can be cancelled if that number is not reached. If that happens, you are offered another date or experience, or a full refund.
You can cancel for a full refund up to 24 hours before the start time. Changes or cancellations made less than 24 hours before the start time are not accepted for a refund. The cut-off uses London local time, so check the exact start time carefully if you are booking from abroad.
The course has a 4.9 rating based on eight published ratings, with particular praise for patient teaching, practical tasks, personal attention, and help with different camera brands. The strongest pattern is clear: people who arrive confused by their camera tend to value the hands-on instruction most.
Should you book the Beginners Photography Course?
Book it if you want to stop guessing and start controlling your camera. The combination of a six-person limit, personal tuition, short assignments, and recognisable London subjects gives you a useful first step into manual photography.
I would be especially inclined to book if you have a camera sitting unused, an inherited model you cannot understand, or a holiday coming up where you want more than automatic snapshots. The tutor can help you connect technical settings with real subjects, which is where the lessons become useful.
Think twice if $336.07 feels high for a half-day activity or if you have no plan to practise afterward. You may not leave as a finished photographer, but you should leave with a clearer sense of what your camera can do and how to make it do it. For a committed beginner, that can be worth far more than another London souvenir.
FAQ
Where does the photography course start?
The meeting point is on Station Approach Road near London Bridge Station, London SE1 9SP.
Where does the activity finish?
The course ends back at the meeting point.
How long does the workshop last?
It lasts approximately four hours.
How many people can join the group?
The maximum group size is six participants.
What camera should I bring?
Bring your own digital camera. Teaching is geared to the camera you own.
What equipment do I need?
Bring your camera, a fully charged battery, a spare battery if you have one, and memory cards.
What age must participants be?
The minimum age is 16.
Can I cancel for a refund?
Yes. You can cancel at least 24 hours before the start time for a full refund. Cancellations or changes made less than 24 hours before the start time are not accepted for a refund.
Just added in London
- The Beatles and a Secret pub★ 4.5 · 36 reviews
- The Beatles & Liverpool Magical Mystery Tour from London★ 4.5 · 80 reviews
- Airport Coach Service from Heathrow to Oxford★ 3.5 · 67 reviews
- The Beatles Magical History Black Taxi Tour London★ 5.0 · 51 reviews
- The Beatles London walking tour. From Abbey Road to the Roof Top★ 5.0 · 61 reviews
- Private The Beatles Taxi Tour in London★ 5.0 · 12 reviews
- The Beatles London Walk★ 4.5 · 120 reviews
- Dinner and Jazz Cruise on the River Thames★ 4.0 · 140 reviews
Photography Sessions, compared.
Professional Photoshoot in London Photographer
Read our review →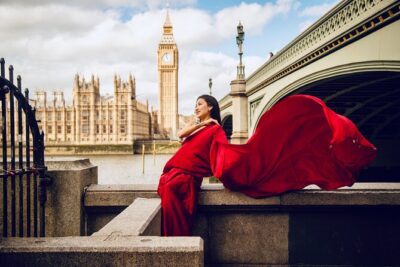
Browse the lists this tour appears in